How to Choose Mountaineering and Hiking Boots: Types, Crampon Ratings, Fit and Care
By Blake Penson · August 12, 2021
Category: equipment
7 min read
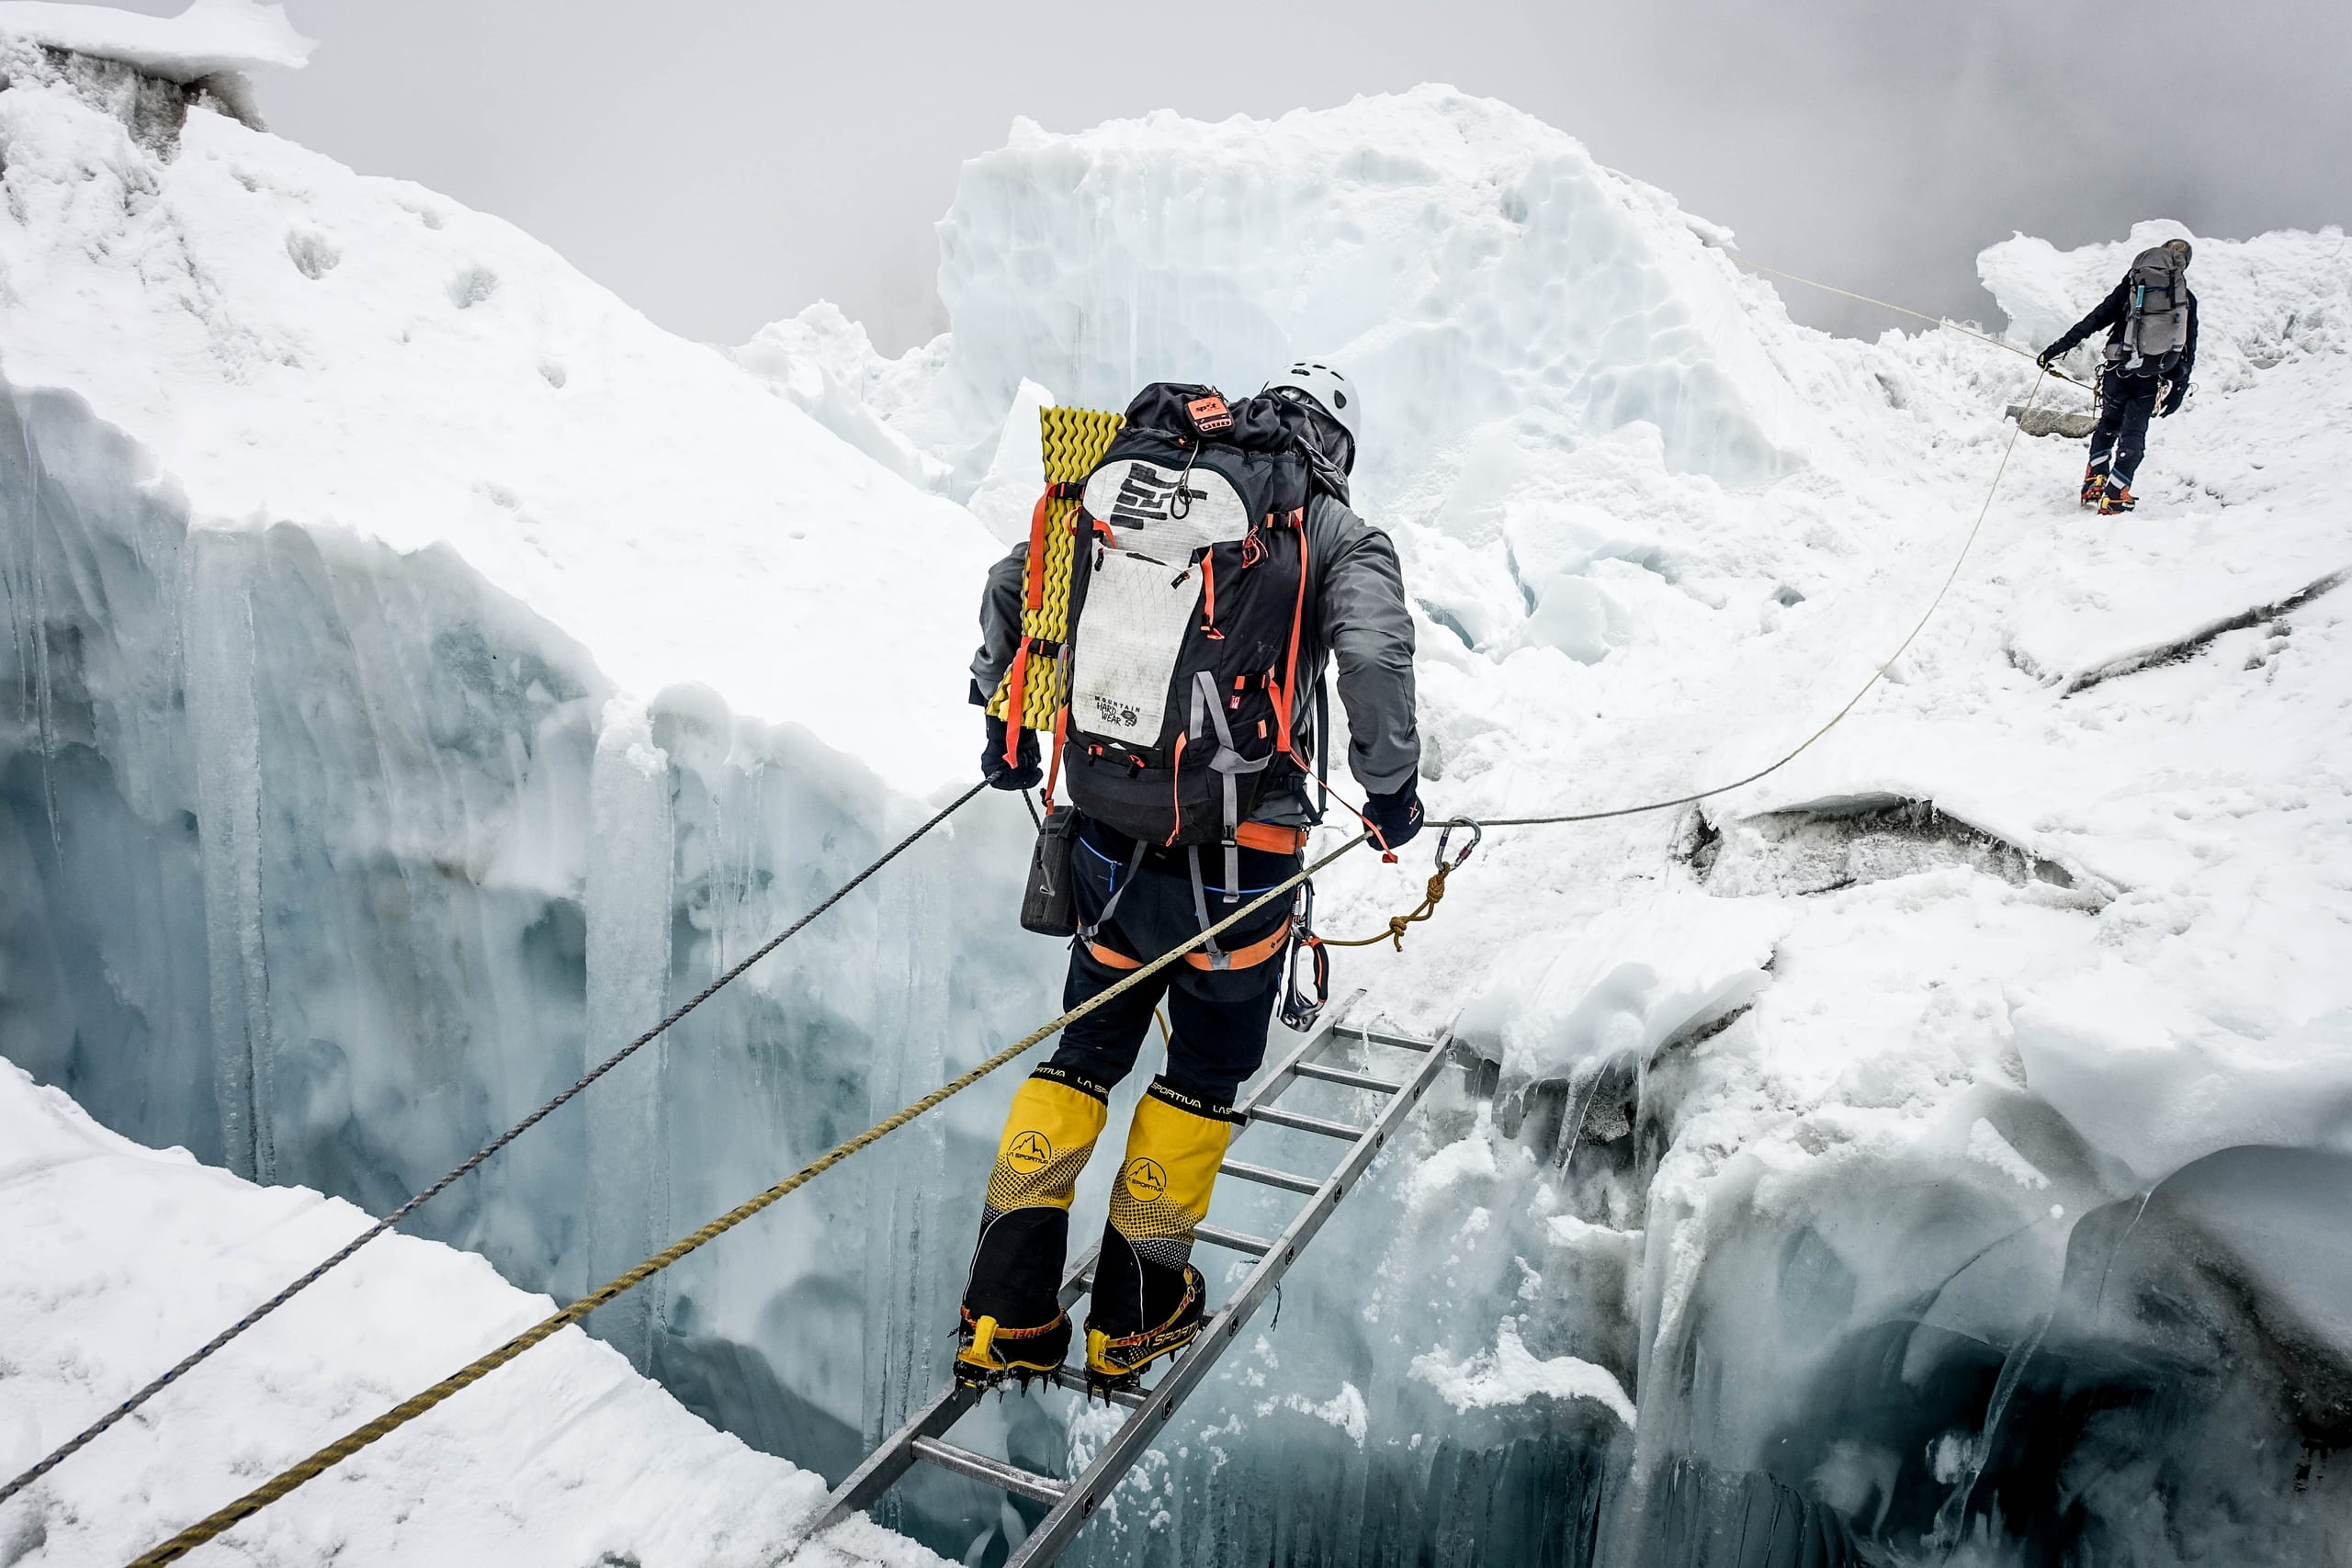
To choose the right boot, start with the terrain and temperature, not the brand. For trails and treks, a mid- or high-cut hiking boot with a supportive sole and a waterproof membrane is usually enough. For glaciers and snow climbs, you need a stiffer mountaineering boot that takes crampons: a B1 boot for occasional strap-on crampons, a B2 for general alpine climbing, and a B3 for technical ice and steep mixed ground. For cold, high peaks, choose a double boot with a removable liner, and above about 7,000 m, a triple boot with an integrated gaiter. Then fit matters more than anything: try boots on in the afternoon with the socks you will wear, make sure your toes do not hit the front on a downhill slope and your heel barely lifts, and break them in before your trip. This guide walks you through each decision. For our pick of specific models by altitude, see the best mountaineering boots for different altitudes.
Boot types at a glance | Boot type | Typical use | Crampon rating | Stiffness | Warmth | |---|---|---|---|---| | Hiking shoe or trail runner | Trails, dry approach | B0 (not crampon-compatible) | Flexible | Low | | Hiking boot (mid or high cut) | Trekking, backpacking, rough trails | B0, some B1 | Flexible–moderate | Low–moderate | | Light mountaineering boot | Scrambles, summer snow, glacier walks | B1–B2 | Semi-stiff | Moderate | | Technical single boot | Alpine climbing, ice and mixed | B2–B3 | Stiff | Moderate–high | | Double boot | Cold, high peaks (e.g. Denali, Aconcagua) | B3 | Stiff | High | | Triple or 8,000 m boot | 7,000–8,000 m+ peaks | B3 | Stiff | Very high |
Step 1: Match the boot to the terrain
The first question is what you will actually do in the boots.
- Trails and treks such as Everest Base Camp, the Annapurna Circuit or Kilimanjaro: a hiking boot is usually best. On Kilimanjaro, a warm, waterproof hiking boot is enough for summit night for most climbers, although some choose an insulated boot.
- Scrambles and summer snow, such as easy alpine routes and glacier walks: a light mountaineering boot with a stiffer sole, a rubber rand and crampon compatibility.
- Technical alpine climbing, such as Mont Blanc or the Matterhorn: a stiff technical boot that takes step-in crampons.
- Cold, high expeditions: a double boot, and at extreme altitude, a triple or 8,000 m boot.
Many climbers end up owning two or three pairs, because no boot works well everywhere. A stiff boot is tiring and uncomfortable on long trails, while a flexible hiking boot is unsafe with crampons on steep ice.
How to choose hiking boots
Hiking boots come in three main heights. Low-cut shoes are light and comfortable on good trails but give little ankle support or protection. Mid-cut boots cover the ankle and suit most hiking and day trips. High-cut boots give the most support and protection for heavy loads and rough terrain.
Look at the following:
- Upper material. Full-grain leather is durable, water-resistant and moulds to your foot over time, but it is heavier and takes longer to break in. Synthetic and leather-synthetic uppers are lighter and dry faster, but they often wear out sooner.
- Waterproof membrane. Membranes such as Gore-Tex keep water out, which is useful in wet climates, snow and stream crossings. The trade-off is that the boot is warmer and less breathable in hot weather, and once water comes in over the top, it dries slowly.
- Midsole and shank. A stiffer midsole, sometimes with a shank, protects your feet on rocky ground and under a heavy pack.
- Outsole. Deep, widely spaced lugs grip mud and loose ground; a defined heel helps on steep descents.
- Weight. Lighter boots reduce fatigue, but very light boots may wear out faster and give less protection.
For long treks with a heavy pack, choose a supportive mid- or high-cut boot. For light, fast hiking on good trails, many people prefer trail shoes.
Step 2: Understand crampon ratings
Crampon compatibility is the most important technical feature of a mountaineering boot. Boots and crampons are often described by a B and C rating system used by many British retailers and guides.
- B0: flexible walking boots. Not suitable for crampons.
- B1: stiffer boots for easy snow and glacier walking. They take C1 strap-on crampons.
- B2: stiff boots with a heel welt. They take C1 or C2 semi-automatic crampons (toe strap, heel lever). Good for general alpine mountaineering.
- B3: fully rigid boots with toe and heel welts. They take C1, C2 or C3 step-in crampons, which have a toe bail and heel lever. Best for steep ice, technical routes and cold expeditions.
Always check that your crampons fit your boots before a trip. A poorly fitted crampon can come off on steep ground. See crampons: facts and information.
Step 3: Single, double or triple
Single boots
Single boots have one layer, with the insulation built into the upper. They are lighter, more precise for climbing and better on technical ground. They are used for summer alpine routes, ice climbing and peaks up to about 6,000 m in mild conditions. Insulated singles are warmer but still not as warm as double boots.
Double boots
Double boots have a removable inner liner inside a hard or semi-rigid outer shell. You can take the liner into your sleeping bag at night so it stays dry and warm, which matters on multi-day cold climbs. They are standard for peaks such as Denali and Aconcagua and on many 6,000 to 7,000 m peaks. See the Denali gear list and the Aconcagua gear list.
Triple and 8,000 m boots
Triple boots add an integrated insulated gaiter, which covers the lower leg and keeps snow out. They are designed for the extreme cold of the highest peaks and are standard for 8,000 m expeditions, including Everest. They are heavy and bulky but much warmer. Some modern 8,000 m boots blend double-boot and integrated-gaiter features.
Step 4: Fit and sizing
A boot that does not fit will cause blisters, black toenails or cold feet, however good it is. Fit is personal, and different brands use different lasts (the foot shapes boots are built around), so try several.
- Shop late in the day. Feet swell during the day and at altitude.
- Wear your trip socks. Bring the socks you will use, including any liner socks.
- Check toe room. With the boot unlaced, slide your foot forward until your toes touch the front. You should fit about a finger's width behind your heel. Mountaineering boots usually need a little more room for thicker socks and swelling at altitude.
- Lock the heel. Laced up, your heel should lift very little when you walk. Too much heel lift causes blisters.
- Test downhill. Walk down a ramp or stairs. If your toes hit the front, the boot is too short or the lacing is too loose.
- Check width. Your foot should not press on the sides or feel squeezed across the widest part.
- Consider insoles. Aftermarket insoles can improve support and fit.
- Do not size up too much. Too much room causes your foot to slide and blister.
If you are buying expedition boots, try them with the liners and socks you will use and walk around for as long as possible. Many specialist shops will help with fitting and may offer stretching.
Step 5: Break them in
Never take new boots straight on a big trip. Wear hiking boots around town and on short hikes, then longer days with a pack. Stiff mountaineering boots need breaking in too, although rigid boots soften less. Walk in them on hills and stairs, and wear them for a training climb. Fix any hot spots early with lacing changes, insoles or tape.
Lacing techniques
Lacing can solve many fit problems:
- Heel lock (surgeon's knot): tie a surgeon's knot at the ankle hooks to stop your heel lifting and keep your toes off the front on descents.
- Window lacing: skip a pair of eyelets over a pressure point to relieve it.
- Looser on climbs, tighter on descents: loosen the top for walking uphill and tighten before steep descents.
Boots for popular objectives
- Everest Base Camp and the Annapurna treks: a broken-in, waterproof mid- or high-cut hiking boot. Trails are rocky and long, so comfort matters more than stiffness. Bring camp shoes for the evenings. See the Annapurna Base Camp guide.
- Kilimanjaro: a warm, waterproof hiking boot, with good socks for the cold summit night.
- Mont Blanc and other 4,000 m Alpine peaks: a B2 or B3 boot, usually an insulated single boot. See Mont Blanc routes.
- Aconcagua and Denali: a double boot, plus a lighter boot for the approach on Aconcagua.
- Ama Dablam and similar 6,000–7,000 m technical peaks: a double boot or a very warm technical boot, depending on the season.
- Everest and other 8,000 m peaks: a triple or 8,000 m boot, with a lighter boot for the trek to base camp.
Gaiters and accessories
Gaiters keep snow, water and stones out of your boots. Short gaiters are useful on scree and dusty trails; full-length gaiters are needed in deep snow if your boots do not have a built-in gaiter. On cold expeditions, consider overboots or insulated boot covers for extra warmth, and battery-powered sock or insole heaters, although batteries drain quickly in the cold. Spare laces are small and worth carrying.
Buy or rent?
Expedition boots are expensive and you may only need them occasionally. In gateway towns used by climbers, such as Kathmandu, Mendoza and Chamonix, gear shops rent double and triple boots, which can make sense for a single expedition. The risk is fit: rental boots are already shaped by other feet, and the right size may not be available. If you rent, take your own socks and insoles, try the boots on early, and wear them on acclimatisation hikes before you need them. If you plan to climb regularly, buying and breaking in your own boots is usually better.
Boot care
Clean boots after each trip with water and a soft brush, and dry them slowly at room temperature, away from fires and heaters, which can damage leather and glue. Remove the insoles and liners to dry separately. Re-proof leather and fabric uppers with a product suited to the material. Store boots in a cool, dry place. Check soles and rands regularly; many quality boots can be resoled by specialists.
Foot care
Good boots are only half of happy feet.
- Trim toenails short and straight before a trip.
- Wear moisture-wicking wool or synthetic socks, not cotton.
- Keep feet dry and change socks when they get wet.
- Treat hot spots before they become blisters, and carry a small kit with tape, blister plasters and a clean needle.
- In cold conditions, keep boots and liners warm overnight, and do not lace boots so tightly that they cut off circulation, which increases the risk of frostbite.
Common mistakes
- Buying a boot because of the brand or a review instead of fit.
- Taking B0 hiking boots onto glaciers with crampons.
- Using heavy expedition boots for warm treks.
- Skipping the break-in period.
- Buying too small and not leaving room for thick socks and swelling.
Frequently asked questions
How do I choose hiking boots?
Choose the height and stiffness for your terrain and load, decide whether you need a waterproof membrane, and focus on fit. Try them on with your socks, check toe room and heel lift, and break them in before a long trip.
What is the difference between hiking and mountaineering boots?
Mountaineering boots are stiffer, warmer and compatible with crampons. Hiking boots are lighter and more flexible but usually not suitable for crampons.
What does B1, B2 and B3 mean?
B ratings describe a boot's stiffness and crampon compatibility. B1 takes strap-on crampons, B2 takes semi-automatic crampons, and B3 takes step-in crampons.
Do I need double boots?
You need double boots for cold, high peaks such as Denali and many 6,000 to 7,000 m peaks. For summer alpine routes, a single boot is usually enough.
How should mountaineering boots fit?
Snug at the heel, with room for your toes not to hit the front on downhill slopes and space for thicker socks.
Can I use hiking boots for Kilimanjaro?
Yes. Most climbers use warm, waterproof hiking boots on Kilimanjaro, which does not need crampons on normal routes.
How long do boots take to break in?
It varies. Light hiking boots may need a few walks, while leather and stiff mountaineering boots may need several longer days.
Tags: mountaineering-boots, gear, single-boots, double-boots, boot-care